
- Install from Atlassian Marketplace
- Manual install
- Upgrade
- Moving to Jira Cloud?
- Atlassian Guide: Update license
Install from Atlassian Marketplace
- Log in to your Jira instance as an admin.
- Click the profile icon on the top right-hand corner of the screen.
-
Go to Atlassian Marketplace.
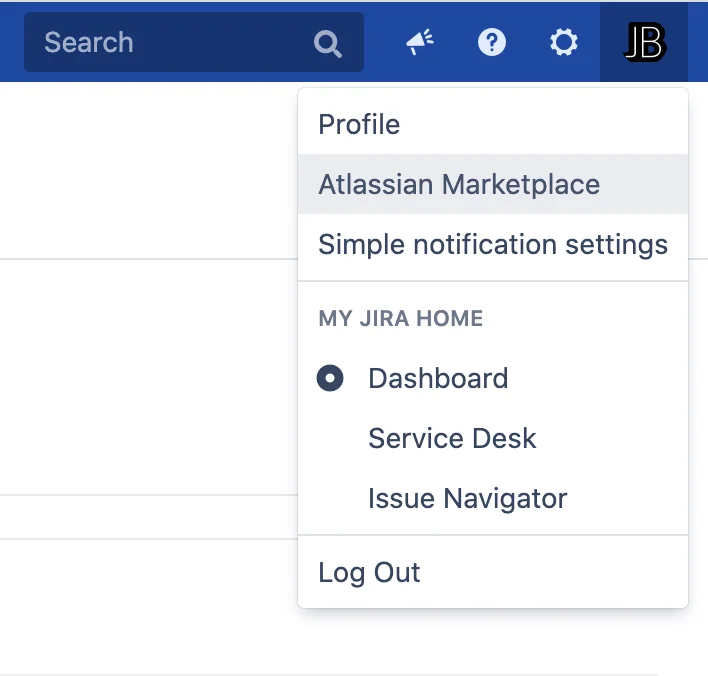
- Click Find New Apps on the menu on the left-hand side.

- Find
Time in status | SLA | Timer | Stopwatch via search. -
Click Buy Now to purchase a license for
"Time in status | SLA | Timer | Stopwatch" or Free Trial if you want to start a trial. - If you have clicked Buy Now, then the Atlassian Marketplace checkout page will appear. After you have purchased a license, click Apply License.
- If you have clicked Free Trial, then the Free Trial screen will pop up. Click Get License.
- You will then see the my.atlassian.com login page.
- Log in to my.atlassian.com.
- Click Apply License.
Manual install
- Open plugin page on Atlassian Marketplace: Time in status | SLA | Timer | Stopwatch
-
Select hosting: Data Center, then take the build that matches your Jira line - Jira 10.x or Jira 11.3.

-
Click Download at the bottom of the page.

- Log in to your Jira instance as an admin.
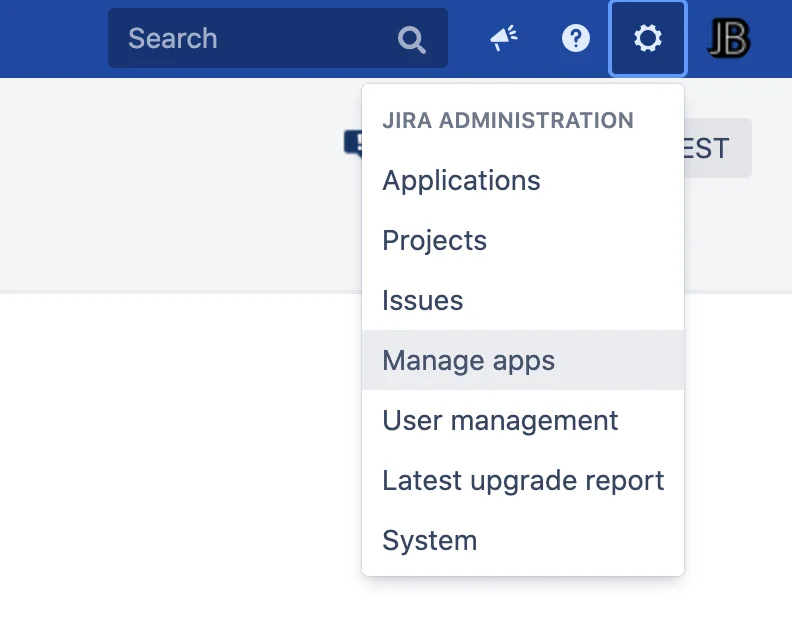
- Click the Administration icon on the top right-hand corner of the screen.
-
Go to Manage apps.
-
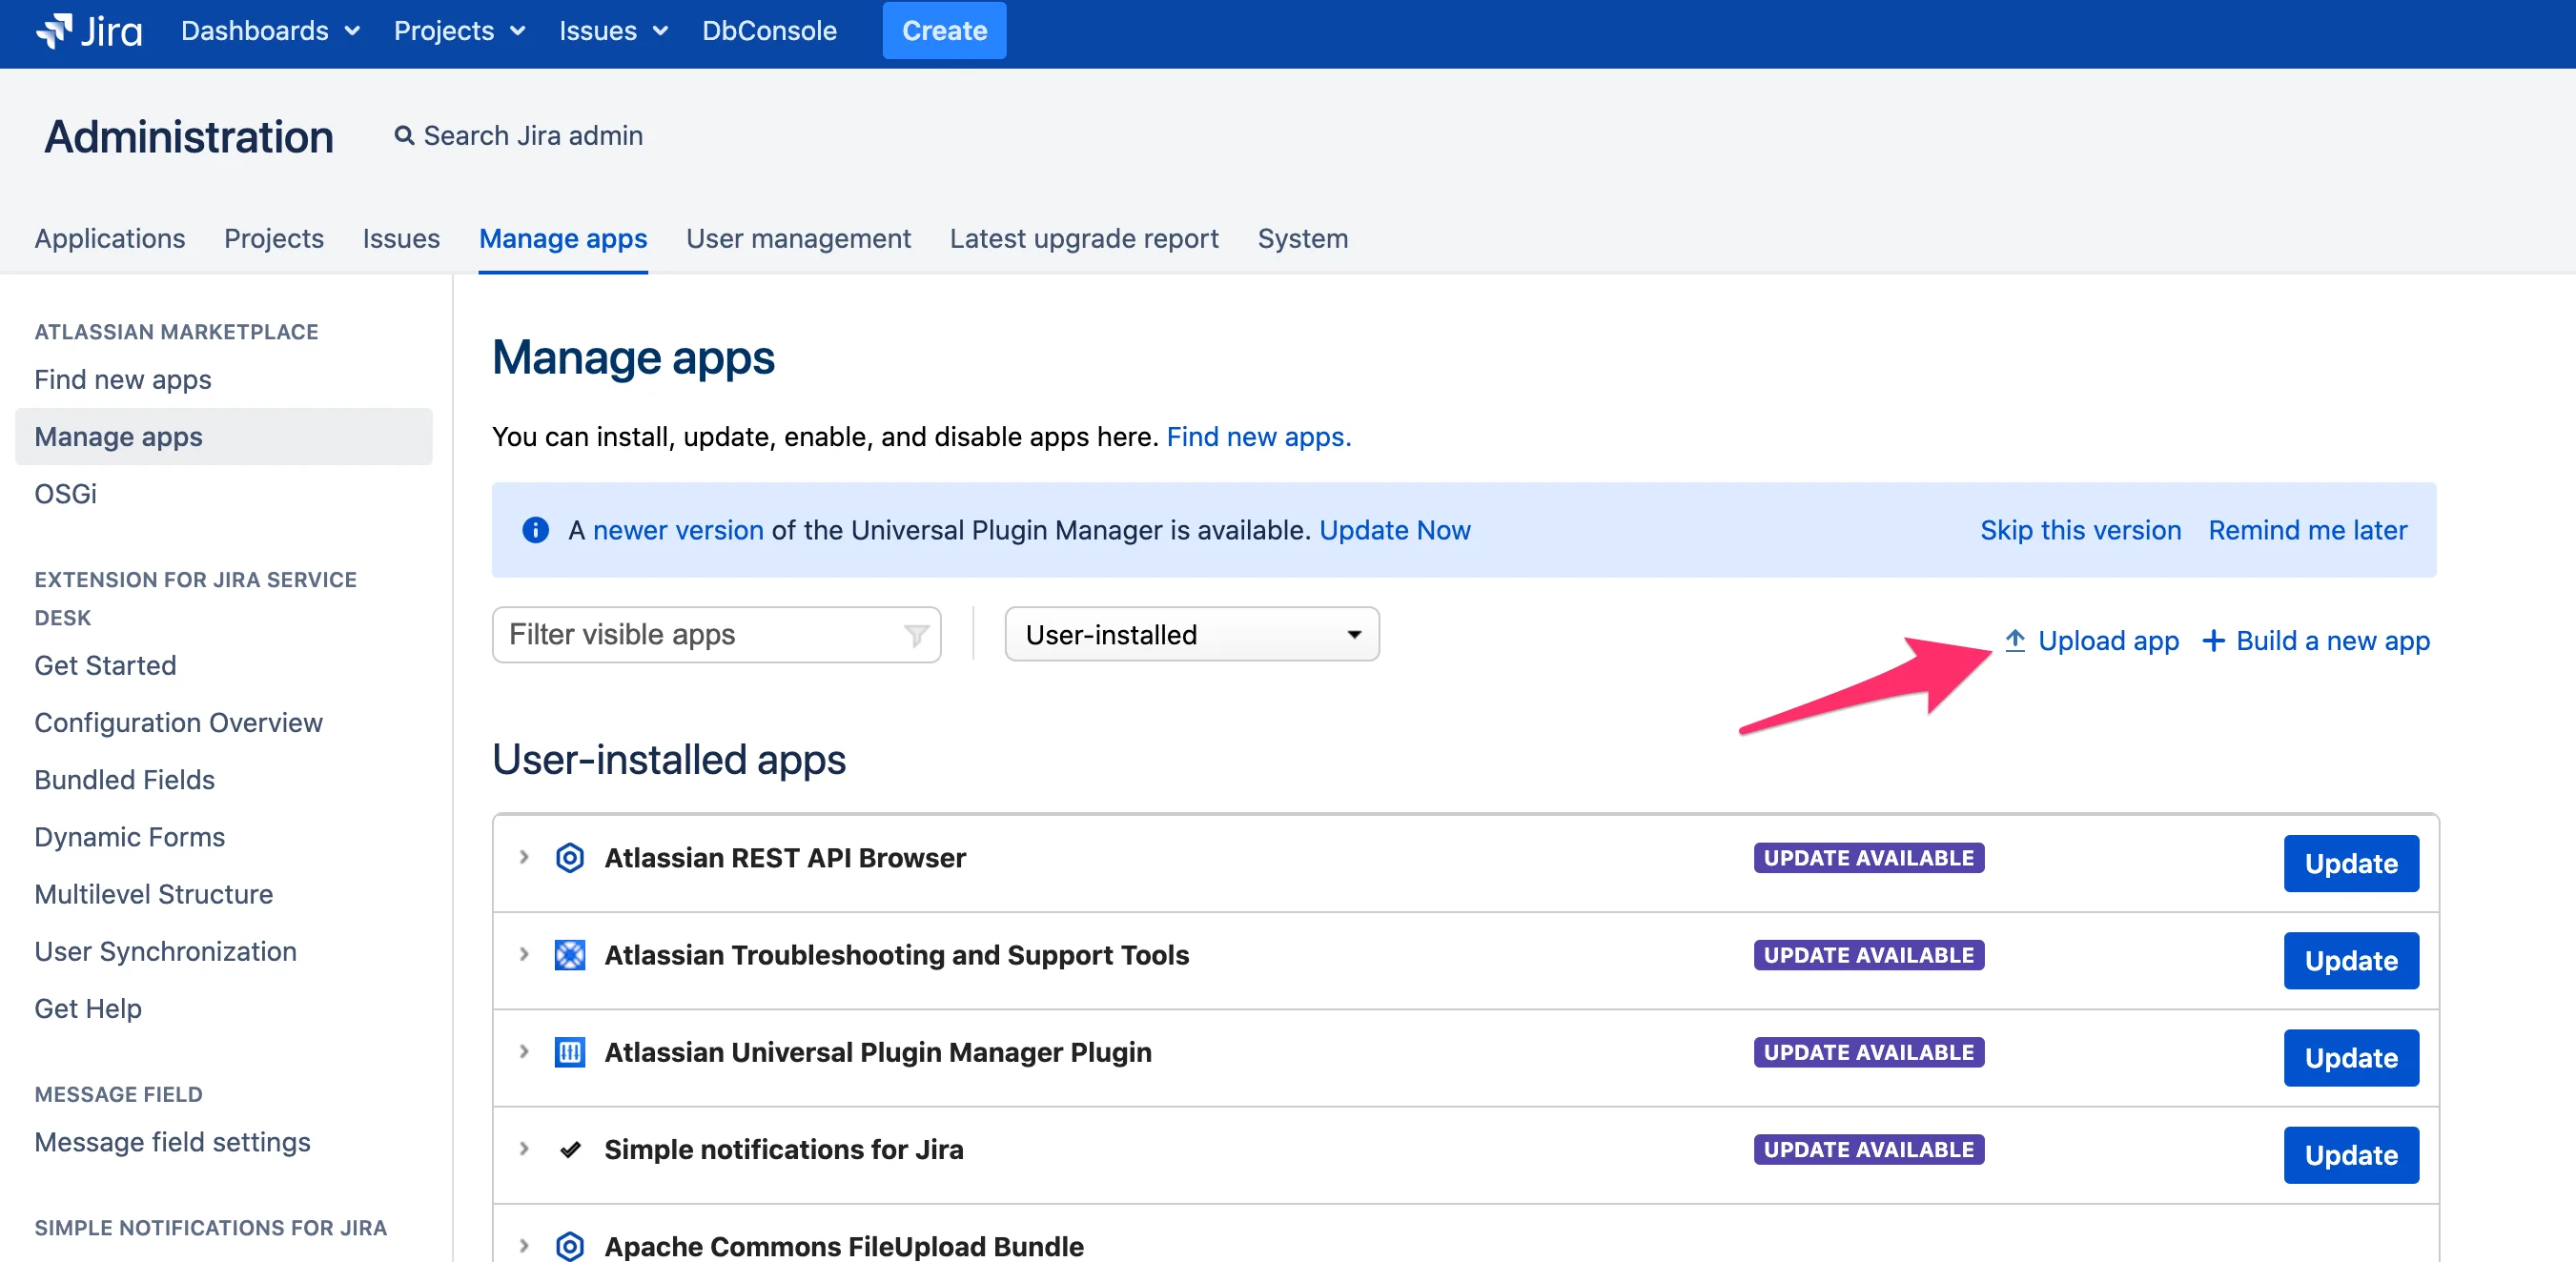
Click Upload app.
-
Click Choose file and select the downloaded file.

-
Click Upload.
- Activate a license for
Time in status | SLA | Timer | Stopwatch or Free Trial if you want to start a trial. - If you have clicked Buy Now, then the Atlassian Marketplace checkout page will appear. After you have purchased a license, click Apply License.
- If you have clicked Free Trial, then the Free Trial screen will pop up. Click Get License.
- You will then see the my.atlassian.com login page.
- Log in to my.atlassian.com.
- Click Apply License.
Upgrade
Run a full re-index after upgrading
This version changes how the app stores index data for its fields so that Jira dashboard gadgets can read it. The data is written per issue as that issue is indexed, which means gadget results are only correct for issues indexed since the upgrade.
- Go to Administration → System → Indexing (
/secure/admin/jira/IndexAdmin.jspa). - Choose Full re-index and start it.
- Wait for it to finish before checking your dashboards.
On a large instance, plan the re-index for a maintenance window. On Data Center you can use a rolling re-index to keep the cluster available.
What happens if you skip it: gadgets with a Statistic Type set to a Time in Status, Timer, Stopwatch, helper or Calendar picker field keep showing the results they showed before the upgrade — usually nothing. Everything else keeps working: field values are still calculated, and JQL, sorting and reports are not affected.
Moving to Jira Cloud?
The app does not have to be reconfigured by hand on the Cloud side: the Jira Cloud Migration Assistant carries calendars, configurations, schemes, events and field bindings into the Cloud app for you. Per-issue values are the exception - they are recalculated in Cloud from the issue history that JCMA migrates anyway.
- What JCMA transfers to Cloud - and what is recalculated from history - what is in the transfer, what is not, and how to confirm from
atlassian-jira.logthat the migration listener was found. - Migration from Data Center to Forge Cloud - the full step-by-step protocol.
Upgrade the Data Center app to 6.5.0 or later (6.5.1 recommended) before migrating: 6.2.0 and earlier builds delivered the payload to the Cloud app’s development environment, so the migration could report success while the production app stayed empty. JCMA does not create the Time in Status fields in Cloud - plan to create them and bind the imported settings in Health Check after the migration.


